Bathtub inserts, also known as bathtub liners, offer an affordable way to update outdated bathtubs. Inserts fit over an existing tub and come in a variety of colors. They do away with the tough job of tearing out an old tub. In addition to saving time, the steps for how to install a bathtub insert are manageable for the average do-it-yourselfer. Here, the bath experts at PJ Fitzpatrick walk you through the steps.
How to Install a Bathtub Insert
- Clean the existing bathtub surface thoroughly to ensure that the adhesive can make a lasting bond. Use denatured alcohol because it will remove soap buildup.
- Remove all surface objects from your existing bathtub, like adhesive nonslip strips.
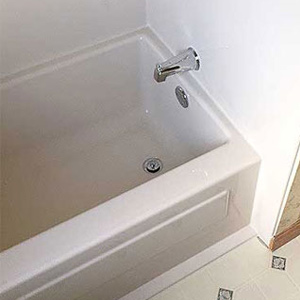
- Take off all fixture hardware, like drain covers, faucet knobs, and shower head. Use an adjustable wrench as needed to loosen the hardware.
- Do a dry fit of the bathtub insert before applying any adhesive. Trim the insert edges with a utility knife as necessary to create a perfect fit.
- Set aside the insert.
- Spread butyl primer along the edges of the existing bathtub where it will connect with the insert. Allow primer to dry completely according to product directions.
- Apply butyl tape over the primed edges. Keep the tape 3/4 inch from the wall.
- With the caulking gun, apply silicone adhesive along the edges between the wall and the butyl tape.
- Attach more butyl tape to bottom of the bathtub insert. Cover the bottom surface with tape completely making sure not leave any gaps.
- Spread a layer of silicone adhesive over all existing bathtub surfaces, including the sides, rail, and outside skirt. Make sure to apply adhesive thoroughly around the drain and overflow.
- Press insert into place over the old bathtub. Apply pressure across all surfaces to ensure contact with the adhesive.
- Replace the faucet hardware.