Whether your bath faucet is damaged or you simply want to update the look, replacing it is easy and only requires a few tools. Here, our bath maintenance professionals give you the step-by-step instructions to successfully replace it:
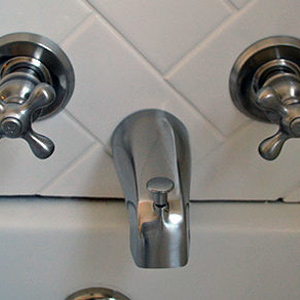
- First, determine what kind of faucet you have by looking underneath it.
- If you see a setscrew, it’s considered a “slip-on” faucet. If it doesn’t, it’s considered a “screw-on” faucet.
- Purchase a replacement faucet in the same style as your old one.
- Then, use your hex wrench to unscrew the setscrew and remove it (slip-on faucets) or rotate the faucet counter-clockwise to unscrew it (screw-on faucets).
- Gently remove the faucet from the wall.
- For a slip-on faucet: place the new faucet over the protruding pipe and tighten down the setscrew.
- For a screw-on faucet: rotate it clockwise until the threads catch and you can tighten it to the wall.
- If the pipe in your wall protrudes too far, too little, or its threads are too corroded to use, remove the old pipe and install a new pipe that fits correctly with your new bath faucet.
- In the event you’re also replacing the handles, use your screwdriver to remove the screws that attach them to the wall. (If there’s a decorative cover over the screws, pop it off with the end of your screwdriver to access the screws underneath.)
- Remove the handles from the wall.
- If there are round “plates” underneath the handles, remove them from the wall as well.
- Install the new plates and new handles and tighten the screws down to secure.
*Photo courtesy of pmcshop.net