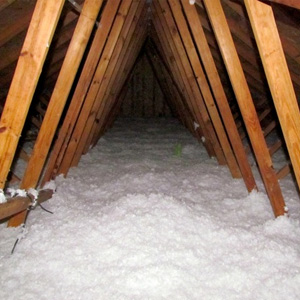
Today’s fiberglass insulation has come a long way from when it was first introduced in the 1930s. With proper instruction, you can learn how to install insulation and help keep your home protected from the cold in the winter and heat in the summer. The right amount of insulation will keep your home comfortable and will help it last longer and while insulation is something we do really well at P.J. Fitzpatrick, you may choose to do it yourself. Here’s how:
R-Values
Before you install your insulation, you’ll need to make sure it’s the right kind. Because average temperatures fluctuate throughout the country, there are different requirements for different areas. Your insulation must have a specific R-value (which is the measure of thermal resistance) in order to comply with state code. For example, if you’re installing insulation in a home in New Jersey, Delaware, Pennsylvania, or Maryland, you’ll need insulation with an R-value of 4 or 5, depending on which area of the state you live.
Installing the Batts
Once you have your batts of insulation, installation is pretty simple.
- While wearing your protective gloves, place a batt of insulation in the stud bay (the place in between two studs), starting at the top.
- Press it into place firmly, but as you continue down the batt, don’t press too hard because you don’t want to compress the R-value.
- Once you get down to the bottom, cut off any excess using a utility knife.
Obstructions
If you come across an obstruction (such as an electrical box):
- Split the side of the batt and tuck the bottom side underneath the outlet box against the wall. This will make sure you don’t have any drafts coming in.
- Then, cut the batt above and below the box and curl the cut piece into the rest of the insulation.
If your obstruction is something like an air conditioning line running down the middle of a stud bay:
- Split one of your batts lengthwise down the middle so you have two thinner pieces.
- Then, place one piece behind the line and one piece in front of it.
Insulating the Windows and Outside Wall
You’ll want to make sure your windows are insulated as well, so you’ll need low-expansion insulation foam (low-expansion foam is used because if an insulation foam expands too much, you’ll risk bowing the windows and not being able to open them).
- Make sure you have an applicator tip for your foam and slowly fill all of the cavities between the edges of your windows and the wood frame.
- In the open areas above the wall (between the floor joists and the outside wall), cut several square pieces of paper-faced insulation (called “blockers”) and set them snugly into the area. The paper on these blockers will help prevent moisture from compressing the insulation.
Finishing Touches
Once all of your insulation is installed, you can cover each whole wall with a polyethylene vapor barrier.
- Pull the barrier tight and staple it to the wall framing using ¼” staples. This will help protect the rest of the insulation from moisture.
- Once your drywall is in place, you can cut the barrier away from the windows so that you can open and close the windows.