A pitched roof extension over a doorway creates a sheltered outdoor living area. The new roof could also block excessive sunlight from entering a room. You should possess basic carpentry skills before attempting to learn how to build a pitched roof extension. You may also need to obtain a building permit depending on where you live.
How to Build a Pitched Roof Extension
- Determine the height and angle of the pitched roof.
- Mark the horizontal locations on the existing wall for the top and bottom wall plates. The wall plates will connect to rafters and joists.
- Use a level and chalk line to create the lines.
- Cut lumber for the wall plates.
- With a power drill and wrenches, attach the wall plates with anchor bolts.
- Cut rafters with angled notches on the upper ends to fit against upper wall plate.
- The combination square will be needed to mark angles for cutting.
- Cut bottom ends of rafters at an angle parallel with the existing wall.
- Test the fit of your first board and use it as a template to cut other boards if it fits.
- Cut joists to fit to bottom wall plate and connect with rafters.
- Nail rafters to top wall plate.
- Nail joists to bottom wall plate and connect to rafters at roof edge.
- Cut and fit plywood for roof decking to nail over rafters.
- Spread roofing paper over new roof and nail in place.
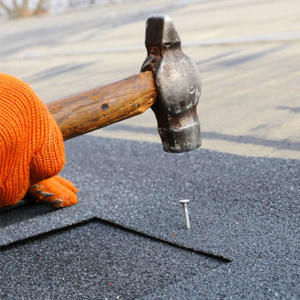
- Shingle the new roof, starting at the bottom and working your way up.
- Attach soffit boards underneath roof overhang.
- Nail on fascia boards.