Asphalt roof shingles perform well, but eventually they need to be replaced. A handy individual with at least one assistant can learn how to replace a roof. You and your helpers should observe all safety precautions involved with roofing work. In this article, the roof replacement experts at PJ Fitzpatrick share their insight.
How to Replace a Roof Steps
- Measure your roof and purchase the appropriate amount of underlayment, drip edging, and shingles.
- Starting at the top, pry off old shingles and underlayment with a shingle scraper.
- Put waste material into the dumpster.
- Pry off any roofing nails that did not come out with the shingles.
- Inspect decking for damage, patch holes and replace rotted boards as necessary.
- If the roof has a steep slope, attach roofing brackets or 2×4 lumber pieces to create footholds.
- Cover the roof with roofing felt.
- Start at a bottom corner and unroll the first row horizontally along the bottom edge.
- Place staples 6 or 8 inches apart.
- Ensure the felt does not have any ripples or bulges.
- Prepare to attach the drip edge flashing by marking where the flat edge reaches on the roof.
- Measure 3/8 inch down from the first mark and snap a chalk line.
- Nail the drip edge in place along the chalk mark with galvanized roofing nails. Overlap edges of each piece.
- Trim excess drip edge off with tin snips.
- Employ the 3-4-5 method to locate your roof’s center point. Make your marks with chalk line.
- Cut tabs off of some shingles with a utility knife for the first bottom row.
- Line up the center slot of a trimmed shingle with the roof center line.
- Extend its adhesive strip 1/4 inch beyond drip edge.
- Repeat process with other trimmed shingles to complete first row.
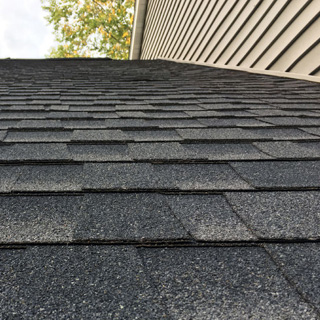
- Install the second row of shingles with tabs extending 1/4 inch past the edge.
- Make chalk lines 5 inches above the edge of each subsequent row of shingles to guide attachment of each row.
- Install the ridge cap.