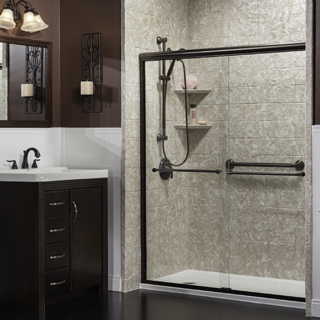
Replacing an old shower stall is an approachable task for confident do-it-yourselfers. You should plan to set aside a day to complete the project. The steps for how to replace a shower vary depending on whether the old shower walls are nailed to the studs or glued on drywall. Adhesive shower panels are meant to be attached to smooth finished walls instead of studs. Therefore, if you remove a shower stall attached to studs, you’ll need to install a similar style shower or attach drywall for adhesive shower walls. The shower replacement professionals at PJ Fitz are happy to share their expert knowledge for this DIY project.
Steps to Replace Your Shower
- Shut off water supply to shower.
- Remove door and frame, if present. You’ll need to take out screws and cut caulk.
- Take off the shower head, faucet knobs, and trim, leaving only the exposed ends of the supply pipes.
- Remove the drain assembly. Depending on drain hardware, you may need to unscrew part of it or scrape away plumber’s putty or caulk.
- Use the utility knife to cut lines of caulk along shower panel walls.
- If shower walls are nailed to studs, you’ll need to:
- Use oscillating power tool with wood/metal blade to cut the drywall about 1-1/2″ from the visible edges of fiberglass panels. This exposes the flange edge nailed to the studs.
- Pry away drywall to expose nailed edges.
- Pry flange and nails off the studs.
- Pull or pry wall panels off the walls. (You might need a reciprocating saw to cut some panel pieces.)
- Pry shower pan off of drain and floor.
- Clean up debris and wipe clean walls and floor to prepare surfaces for the new shower installation.
- Scrape all sealant off the drain.
- Measure new panels and mark where they go on the wall. Use the level to make level lines to guide placement of panels.
- Measure locations for plumbing in relation to panel.
- Transfer measurements to panel and cut holes for the faucet and shower head with a hole saw.
- Install the shower pan and make sure that it’s level.
- Do a dry run with wall panels to confirm proper fit.
- Apply adhesive and attach walls.
- Put the plumbing fixtures back on and connect the drain.