Before installing new gutters, it’s critical to inspect the fascia and roof edges of your home. Gutters rely on solid, undamaged fascia boards and properly functioning roof edges to perform correctly. Installing new gutters over rotted wood or hidden structural issues can lead to sagging, leaks, and premature failure, costing you more time and money in the long run.
This how-to guide explains how to inspect fascia and roof edges before gutter installation, including the tools and materials you’ll need and step-by-step instructions to complete the inspection safely and thoroughly.
Step-by-Step Instructions to Inspect Fascia and Roof Edges
Step 1: Perform A Ground-Level Visual Inspection
Start by walking around your home and inspecting the roofline from the ground. Use binoculars if needed to get a closer look at the fascia boards, roof edges, and existing gutters.
Look for obvious signs of trouble such as peeling paint, sagging gutters, visible gaps, or uneven rooflines. These issues often indicate underlying moisture damage or weakened wood that must be addressed before new gutters are installed.
Step 2: Check Existing Gutters For Clues
If your home already has gutters, examine them closely. Gutters that are pulling away from the house, overflowing, or leaking at the seams may point to fascia damage behind them.
Pay attention to areas where gutter fasteners have loosened or pulled out. This often happens when the fascia board has softened due to rot or prolonged moisture exposure.
Step 3: Safely Access The Roof Edge
Set up an extension ladder on stable, level ground and wear safety gloves and glasses. Never overreach, move the ladder as needed to maintain balance and stability.
Once at roof level, inspect the fascia boards up close. The fascia should be straight, firm, and securely attached to the rafter tails. Any bowing, cracking, or separation is a red flag that repairs are needed before installing new gutters.
Step 4: Probe For Hidden Rot
Rot isn’t always visible, especially if the fascia has been painted multiple times. Use a flathead screwdriver or awl to gently press into the fascia in several spots.
Healthy wood will feel solid and resist pressure. If the tool sinks in easily or the wood feels spongy, rot is present. Mark these areas or take photos so repairs can be planned before gutter installation.
Step 5: Inspect The Roof Edge and Drip Edge
The roof edge, including the drip edge flashing, plays a key role in directing water into the gutters. Look for loose, missing, or corroded drip edge flashing along the roofline.
Check for shingle overhang that’s too short or too long. Shingles should extend just enough to guide water into the gutter without curling or breaking down. Improper shingle alignment can cause water to run behind the gutters and damage the fascia.
Step 6: Look For Signs Of Water Damage
Water stains, mold, mildew, or dark discoloration on the fascia or roof decking are signs of ongoing moisture issues. These problems may be caused by clogged gutters, ice dams, or improper roof drainage.
If left unaddressed, water damage can spread to roof decking and rafters, compromising the structure that supports your gutter system.
Step 7: Check Soffits and Ventilation Areas
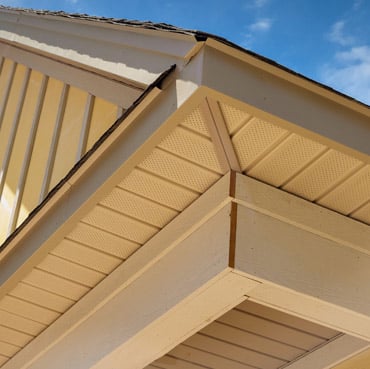
While inspecting the fascia, take a moment to look at the soffits underneath the roof overhang. Cracked, sagging, or stained soffits may indicate moisture infiltration from above.
Ensure vents are clear and unobstructed. Poor attic ventilation can worsen moisture problems along the roof edges, accelerating wood rot and paint failure.
Step 8: Document Findings and Plan Repairs
Use your notebook or smartphone to document all areas of concern. Note the location and severity of any damage so it can be repaired before new gutters are installed.
Minor issues like peeling paint or small cracks may be easy fixes, while extensive rot or flashing problems may require professional repair.
Why This Inspection Matters Before Gutter Installation
New gutters are only as strong as the structure they’re attached to. Installing gutters on damaged fascia or compromised roof edges can lead to poor performance, water leaks, and costly repairs. A thorough inspection ensures your new gutter system is properly supported and able to protect your home from water damage.