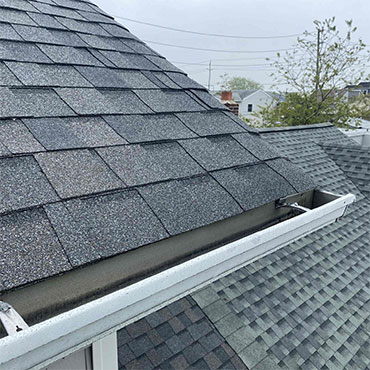
A well-functioning gutter system is crucial for protecting your home from water damage. When gutters aren’t pitched correctly, water can pool or overflow, leading to issues like foundation damage, fascia rot, and landscape erosion. The pitch, or slope, of your gutters determines how efficiently water flows toward the downspouts. Over time, gutters can sag, shift, or become uneven due to weather, debris buildup, or loose fasteners. Luckily, with the right tools and some careful adjustments, you can fix your aluminum gutter pitch and restore proper drainage.
Why the Right Gutter Pitch Matters
The gutter pitch refers to the slight downward angle that allows rainwater to flow naturally toward the downspouts. The ideal slope is typically about ¼ inch for every 10 feet of gutter length. This subtle incline ensures efficient water flow without making your gutters look uneven from the ground.
If the pitch is too flat, water will stagnate, leading to clogs and corrosion. If it’s too steep, water may flow too quickly, overshooting the downspouts and causing erosion around your foundation. Proper gutter pitch ensures smooth water movement and protects your home from costly damage.
Step-by-Step Guide to Adjusting Gutter Pitch
- Inspect Your Gutters
Start by visually inspecting your gutters after a rainfall or with a hose test. Look for standing water or areas where water flows slowly. Identify the high and low points along your gutter line, these will help you determine where adjustments are needed.
- Measure the Proper Slope
Use your measuring tape to determine the full length of the gutter run. Divide that length by 10, then multiply by ¼ inch to find the total drop needed. For example, if your gutter run is 40 feet long, the downspout end should be about 1 inch lower than the high end.
- Mark the New Pitch
Snap a chalk line along the fascia board to mark your desired slope. Start at the high point (usually opposite the downspout) and measure down your calculated amount toward the downspout end. This line will serve as your guide when reattaching or adjusting the gutter hangers.
- Remove or Loosen Existing Hangers
Using your drill or screwdriver, carefully loosen or remove the existing gutter hangers along the section that needs adjustment. Avoid removing too many at once to prevent the gutter from collapsing. If any brackets are bent or corroded, replace them with new ones for added stability.
- Adjust the Gutter Height
Reposition the gutter so that it follows the chalk line you marked earlier. Start at the highest end and work your way toward the downspout. As you adjust, use your level to confirm that the slope is consistent and correctly angled toward the downspout.
- Secure the Gutter in Place
Once the proper pitch is achieved, tighten or reinstall the gutter hangers along the new line. Space the hangers evenly, ideally every two to three feet, to provide adequate support. Double-check that the entire gutter run maintains a smooth, consistent slope.
- Test the Drainage
After securing the gutters, run water through them with a garden hose to ensure it flows steadily toward the downspouts without pooling. Observe how quickly the water moves and make small adjustments if necessary. This step confirms your new pitch is functioning as intended.


