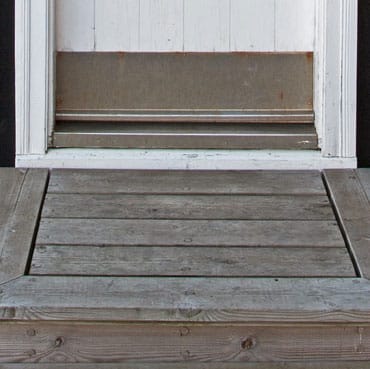
A warped exterior door threshold can quietly cause a lot of problems for a homeowner. Drafts, water intrusion, higher energy bills, and even pest entry can all stem from a threshold that no longer sits flat or seals properly against the door. Because the threshold plays a key role in creating a tight seal between your home and the outdoors, repairing or replacing it is essential for maintaining comfort and efficiency.
Fortunately, in many cases, a warped threshold can be repaired without replacing the entire door system. With the right tools, materials, and a careful step-by-step approach, you can restore proper sealing and extend the life of your entryway.
Step-by-Step Instructions
1. Inspect the Threshold
Begin by opening the door and examining the threshold closely. Look for visible warping, gaps between the threshold and the floor, or signs of rot or water damage. Also check whether the door closes evenly against the threshold or if there are noticeable gaps.
If the threshold is only slightly warped, it may be repairable. If it is severely cracked, rotted, or structurally compromised, full replacement is usually the better option.
2. Remove the Existing Threshold (if necessary)
- Use a utility knife to cut through any paint or caulk sealing the threshold.
- Unscrew any visible fasteners holding it in place.
- Gently pry the threshold up using a pry bar, being careful not to damage the surrounding flooring or door frame.
Once removed, clean the area thoroughly, removing debris, old adhesive, and moisture.
3. Check and Level the Subfloor
- If low spots are present, use wood shims to create a level base.
- Secure shims with construction adhesive so they stay in place.
A properly leveled base is critical to ensuring your new threshold seals correctly.
4. Install the New or Repaired Threshold
- Dry-fit the threshold first to ensure proper alignment.
- Apply construction adhesive along the base.
- Set the threshold into place and press firmly.
- Check with a level to ensure it sits evenly.
- Secure with corrosion-resistant screws.
5. Seal the Edges
- Apply exterior-grade caulk along the edges where the threshold meets the floor and door frame.
- Smooth the bead with a caulking tool or wet finger for a tight seal.
- Allow proper curing time as recommended by the product manufacturer.
6. Replace or Adjust Weatherstripping
- Replace if worn, cracked, or missing.
- Adjust or install new sweep-style weatherstripping if needed to ensure a tight seal against the threshold.
7. Test the Door Operation
Close the door and check for smooth operation. Look for light gaps under the door or resistance when closing. A properly installed threshold should create an even, airtight seal without obstructing movement.